What are iPhone Push Notifications?
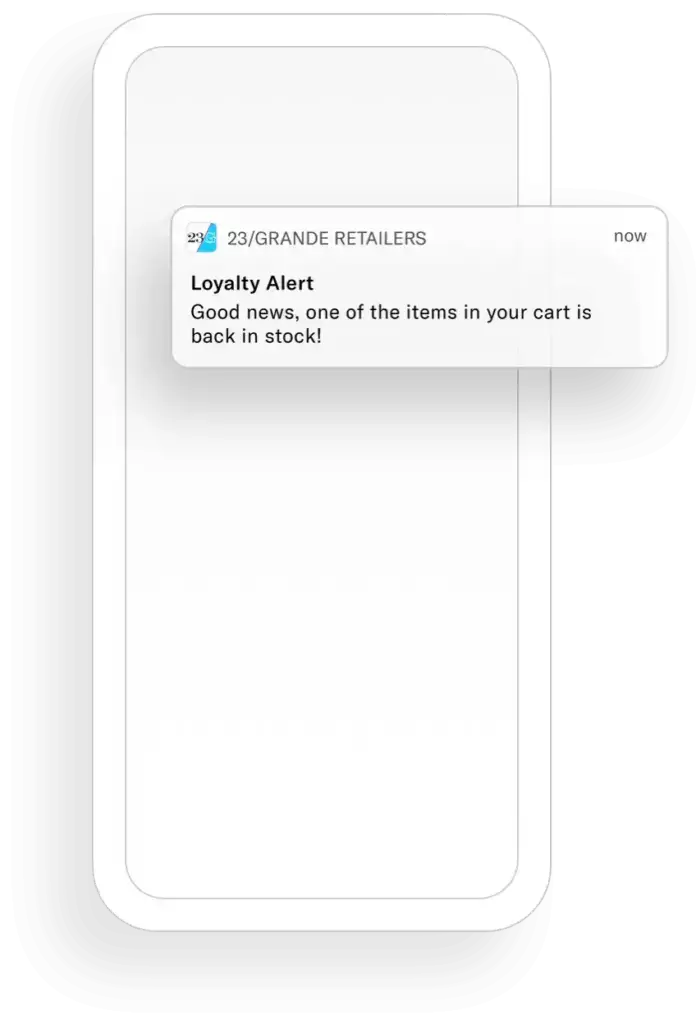
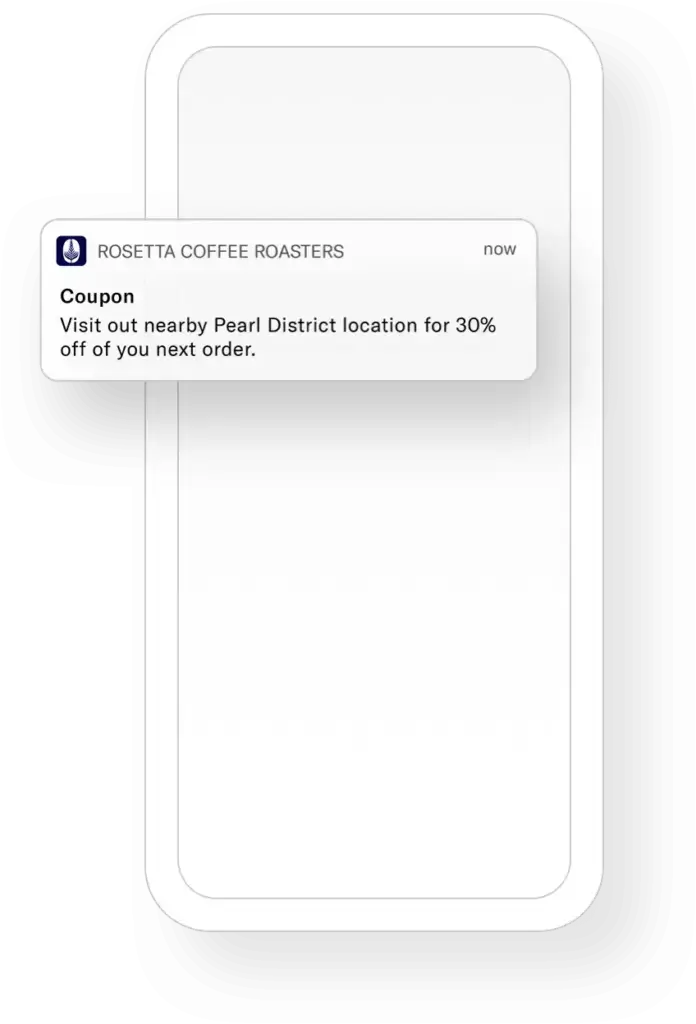
A push notification is a message that pops up on an Apple device such as an iPhone. Before receiving push notifications from an app, iOS device users must explicitly give permission. Once a user opts in, mobile app publishers can send push notifications to the users’ mobile devices. iOS users don’t have to be in the app or active on their devices at that moment to receive them.
Learn more about push notification use cases in our Push Notification Explainer.
How Do iPhone Push Notifications Work?
You can generate notifications locally from the app or remotely from a server that you manage. Local notifications take advantage of events like a time or location to create content and trigger the delivery of the notification. For remote notifications, your company’s server generates push notifications, and Apple Push Notification service (APNs) handles the delivery of those notifications to users’ devices.
There are several distinct entities involved in sending an iOS push notification:
- Provider: A provider is a server that you deploy, manage and configure to work with APNs
- APNs: Apple Push Notification service, which is described in more detail below
- Client device: The targeted device, such as an iPhone
- Client app: The developer’s mobile app
Once you’ve completed setting up iPhone push notifications on your providers and in your app, your providers can send notification requests to APNs to deliver the notification to each targeted device. Once APNs receives a notification, the system delivers the notification to the appropriate app on the device.
If a notification arrives while the device is powered on but the app is not running, the system can still display the notification. Plus, if the device is powered off when a notification is sent, APNs will actually hold onto the notification and retry when the device is on again.
How to Turn iOS Notifications On or Off
Apple offers several ways to adjust how you view your notifications. Here are some steps to adjust your notification preferences:
- Open settings, then notifications
- Choose how you want to see notifications on your lock screen
- Count: Shows only the number of notifications
- Stack: Groups notifications by app
- List: Displays notifications in a list
- Set up an optional scheduled summary for batched notifications
- For each app:
- Toggle “Allow Notifications” on/off
- If on, set your delivery preference (immediate or scheduled summary)
- Turn time-sensitive notifications on/off
- Additional option: Use Focus mode to delay notifications and schedule summaries.
For more detailed customization, explore individual app settings within the Notifications menu. You can also visit Apple’s iPhone User Guide for more information.
What is Apple Push Notification Service (APNs)?
APNs enables third-party application developers to send notification data to applications installed on Apple devices. According to Apple, APNs is “the centerpiece of the remote notifications feature.” They describe it as “a robust, secure, and highly efficient service for app developers to propagate information to iOS (and, indirectly, watchOS), tvOS, and macOS devices.”
How are iOS Push Notifications Displayed?
Depending on the user’s device settings, there are three places where notifications are displayed.
- A pop-up when the user is using the phone
- In the notification center
- On the lock screen (unless disabled)


What is the Character Limit for iOS Push Notifications?
iOS devices have guidelines for truncating notifications so that they fit in each notification delivery style. The iOS byte limit provides space for roughly four lines of text for both the iOS lock screen and Notification Center.
Get the most important, actionable part of your message across in the first 40 characters. This ensures it’s optimally displayed across most devices and operating systems without truncating essential information.
These guidelines are a great reference for crafting your message. But you should always test, test, test! With so many different device sizes and iOS updates, it’s important to test your content to ensure it will fit the devices you’re targeting.
How to Test iOS Push Notifications
Before you can test iPhone push notifications with Airship, you’ll need to take several steps.
- Register your device’s push notification token.
Before you can use APNs, you must register your app and retrieve your app’s device token. This is because APNs must know the address of a user’s device before sending notifications to the device. This globally unique device token is effectively the address of your app on the current device. Your server includes that token with any notifications it sends.
- Obtain an iOS push notification certificate through Apple developer portal.
To secure your communications with APNs, you can install a certificate on your provider server. Provider certificates are obtained through your developer account on developer.apple.com. With certificate-based authentication, you use a provider certificate to establish a secure connection between your provider server and APNs.
- Successfully implement the Airship SDK in your app.
Before sending a test notification, you must have successfully implemented the Airship SDK in your app. Further information can be found on our Developer Resources Page. When integrating the Airship SDK into your app, sending a notification to a select group of test devices is helpful.
Airship’s official documentation explains how to send notifications to test devices. For more information, visit our documentation on setting up and sending to a Test Devices Group.
Changes to iPhone Push Notifications in iOS18
iOS15, released in 2021, introduced significant changes that improved the user experience. One key feature was the implementation of a daily iPhone push notification summary, which lets users receive non-critical notifications in batches at scheduled times. In September 2024, Apple has officially launched iOS18, which promises to build upon these improvements with a few new features.
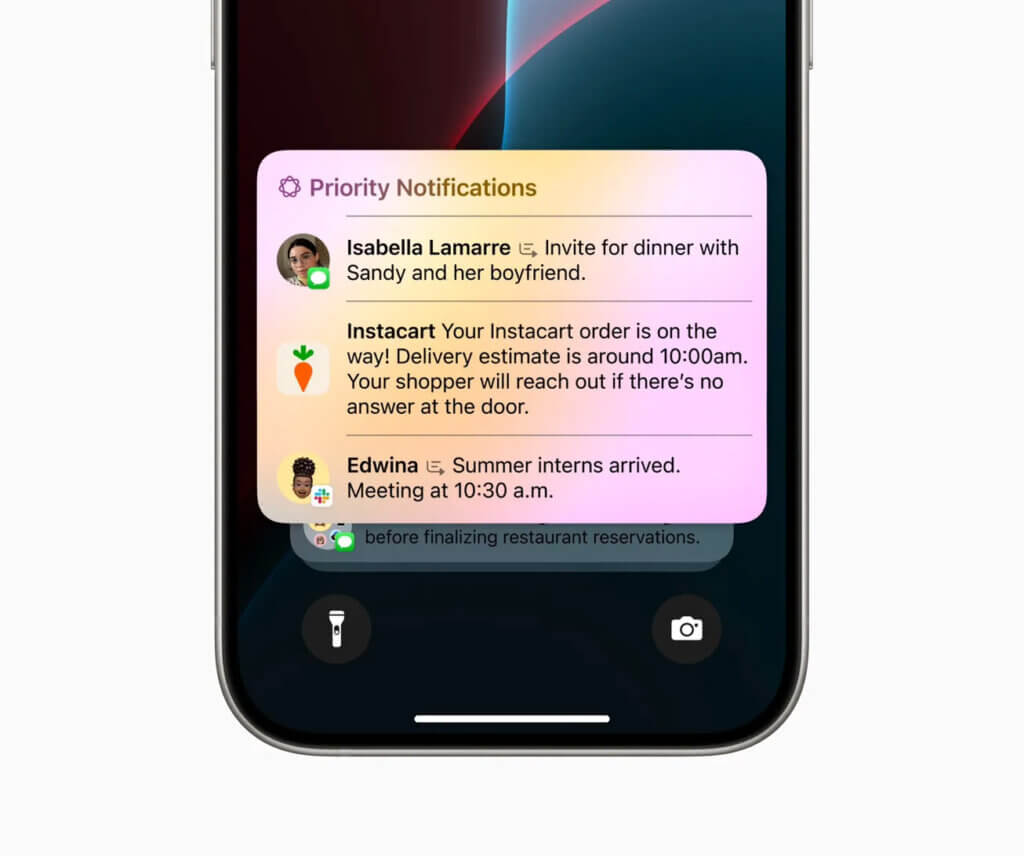
- Priority Notifications: iOS18 introduced a new AI-powered “Priority Notifications” feature. This system will use AI to surface your highest-priority notifications first.

- App Hiding: Another feature of iOS18 is the ability for users to hide apps. When activated, this feature will remove the app icon and name from the Home Screen and search results, stop all notifications from the hidden app and place the app in a new “Hidden Apps” folder in the App Library. To access hidden apps, users will need to use Face ID, Touch ID or their passcode. This feature is particularly helpful for privacy on shared devices, or for apps users want to keep discreet.